Pea gravel brings a clean, understated elegance to outdoor spaces, but without proper edging, it spreads across your lawn like an unwelcome neighbor. The right pea gravel patio edging keeps your gravel contained, prevents erosion, and gives your patio a finished, intentional look. Whether you’re building a new patio from scratch or refreshing an existing one, edging transforms loose stone from a maintenance headache into a durable, attractive feature. This guide walks through seven practical edging solutions, from sleek metal borders to rustic wood frames, plus installation tips you can tackle this weekend.
Table of Contents
ToggleKey Takeaways
- Pea gravel patio edging prevents gravel migration and erosion while creating a finished, intentional look that contains stones year-round.
- Metal, wood, stone, and composite edging options each offer distinct benefits: metal provides modern durability ($3–$8/linear foot), wood offers warm aesthetics ($1.50–$3/linear foot), and stone delivers premium permanence ($8–$20+/linear foot).
- Landscape fabric is essential beneath pea gravel edging—it blocks weeds, allows drainage, and prevents gravel from sinking into soil, making future maintenance significantly easier.
- Proper base preparation and compaction are critical to success: dig 4–6 inches deep, compact soil firmly, slope slightly away from structures, and ensure edging height sits 1–2 inches above the final gravel surface.
- Avoid common mistakes like installing edging without fabric, using untreated wood in wet climates, skipping base compaction, and underestimating gravel depth (aim for 3–4 inches finished depth).
- Most small pea gravel patios (around 200 square feet) can be completed in 1–2 days with proper planning, the right tools, and realistic assessment of your climate and aesthetic preferences.
Why Pea Gravel Edging Works for Modern Patios
Pea gravel, smooth, rounded stones typically 3/8″ to 1/2″ in diameter, has become a favorite for budget-conscious homeowners because it’s affordable, drains well, and feels comfortable underfoot. Without edging, though, the stones migrate into flower beds and grass, especially after rain or foot traffic. Edging acts as a physical and psychological boundary, keeping the gravel where it belongs while defining the patio’s perimeter.
Edging also solves a practical problem: landscape fabric alone won’t hold pea gravel in place. Fabric prevents weed growth underneath, but it doesn’t stop stones from creeping outward. A solid border, whether metal, wood, stone, or composite, creates a hard stop that keeps your patio tidy year-round. Modern edging options blend function with aesthetic appeal, so you’re not just solving a problem: you’re adding visual weight to your outdoor design.
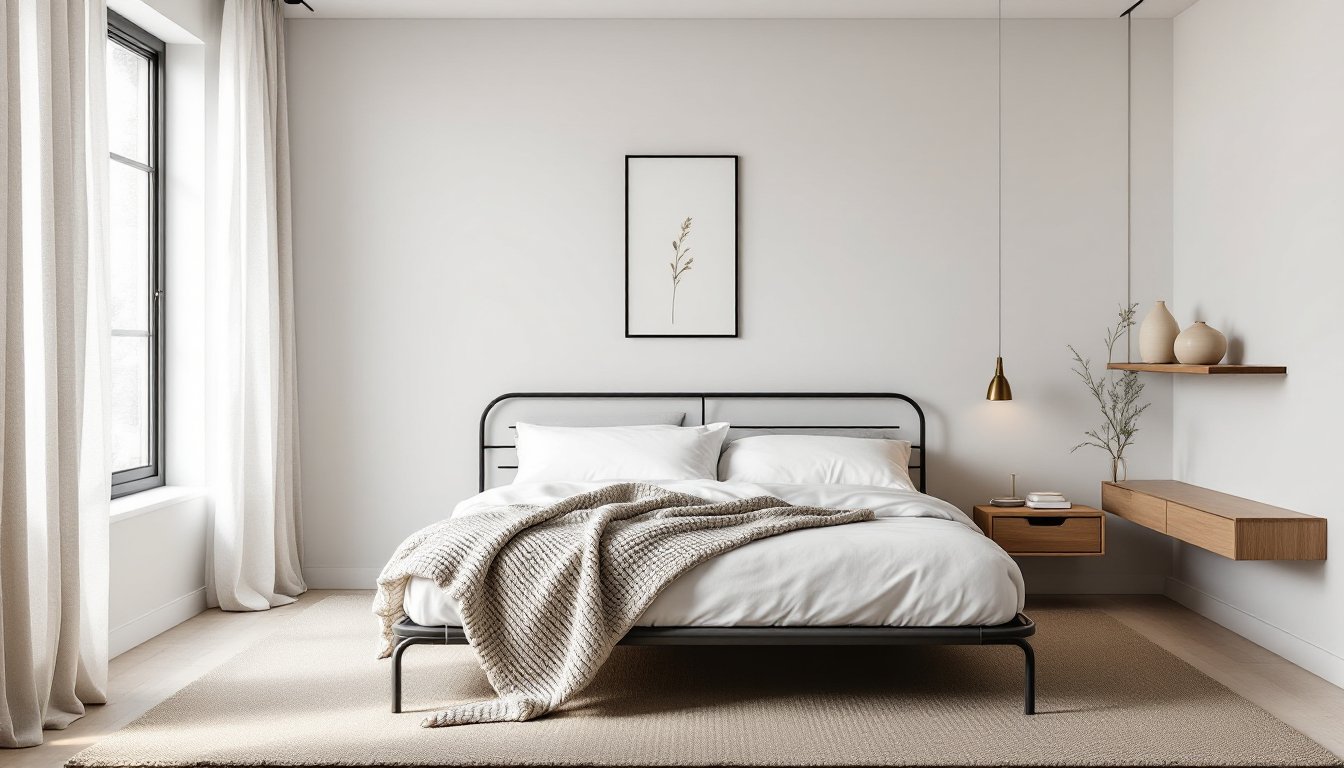
Metal Edging: Sleek and Contemporary
Steel or aluminum edging delivers a sharp, modern line that works well in minimalist outdoor spaces. Metal borders come in various heights, typically 4″ to 6″, and are available in powder-coated finishes (black, bronze, gray, or custom colors) that resist rust and UV fading.
Installation basics: Metal edging usually anchors with ground spikes or brackets driven into the soil perpendicular to the patio’s edge. Mark your perimeter with chalk or string, dig a shallow trench (about 1″ deep) along the line, position the edging, and drive spikes every 12–18″ through the pre-drilled holes. The bottom lip sits slightly below grade so gravel doesn’t spill over the top.
Why it works: Metal is durable, requires minimal maintenance, and creates a clean, intentional boundary. It works especially well if your patio borders hardscape (decking, concrete, pavers) rather than just lawn. The downside: it can get hot in direct sun and may not suit rustic or cottage-style gardens. Cost runs $3–$8 per linear foot, depending on material and finish quality.
Consider corrosion-resistant steel or aluminum for coastal or wet climates: plain steel edging is cheaper but will rust without proper coating.
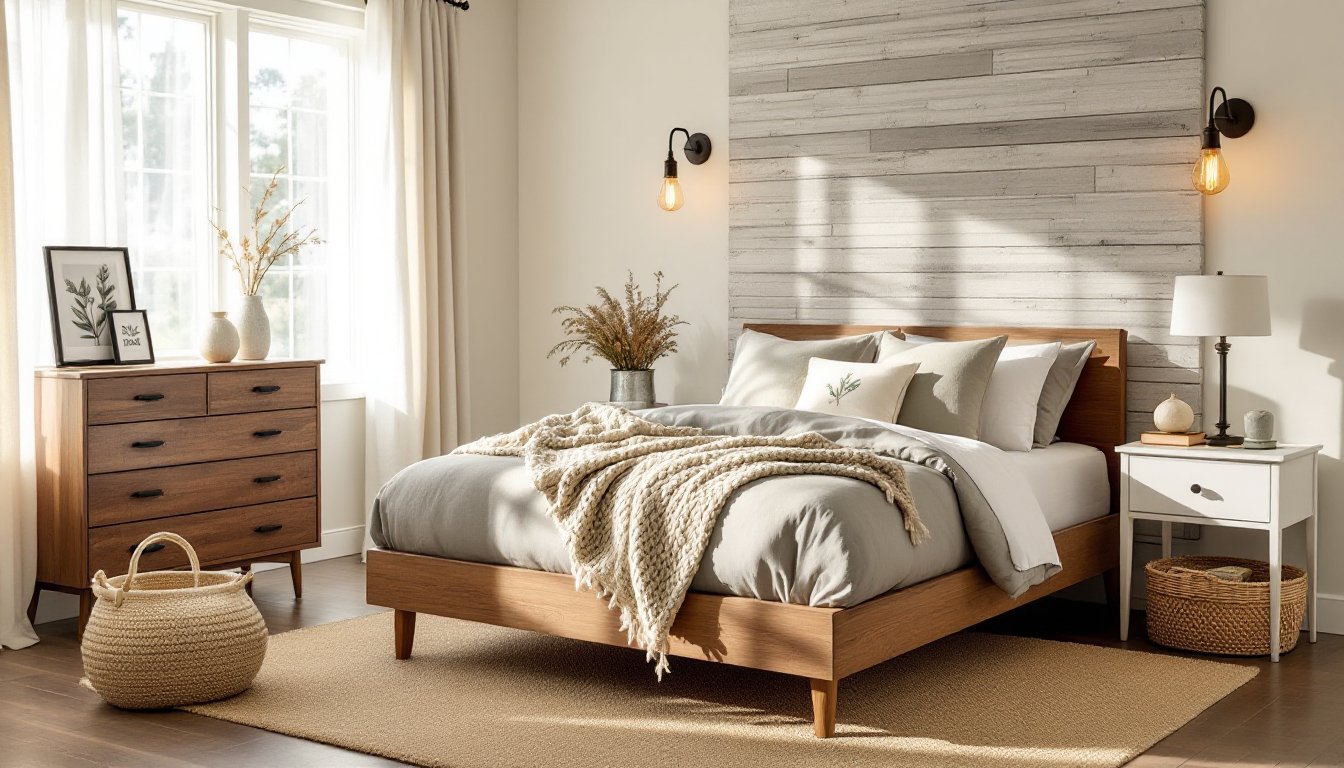
Wood Borders: Warm and Rustic Appeal
Pressure-treated 2×4 or 2×6 lumber gives a classic, warm aesthetic and blends naturally with landscape settings. Unlike untreated wood, pressure-treated stock resists rot for 15–20 years, making it viable for ground contact in most climates. Note that pressure-treated lumber contains copper-based preservatives: wear gloves, eye protection, and a dust mask when cutting, and avoid using treated scraps for firewood or around vegetable gardens.
Installation steps: Lay the boards along your perimeter, corner them using exterior-grade screws (3″-3.5″ deck screws) or by cutting 45-degree miters at corners. Secure the frame to the ground using landscape spikes, rebar, or metal corner brackets every 3–4 feet. The top of the boards should sit about 1–2″ above the final gravel surface to contain the stones and allow for settling.
Why it works: Wood feels approachable and suits garden-style patios beautifully. It’s easier to install than metal because you can adjust the height without special tools. Downsides include eventual rot even though treatment, potential splinters, and the need for occasional maintenance (staining or re-sealing every few years). Cost is roughly $1.50–$3 per linear foot for pressure-treated lumber, plus fasteners.
If you want longevity without maintenance headaches, consider composite lumber (wood fibers plus plastic) as an alternative: it costs more upfront (~$4–$6 per linear foot) but needs no staining and lasts 25+ years.
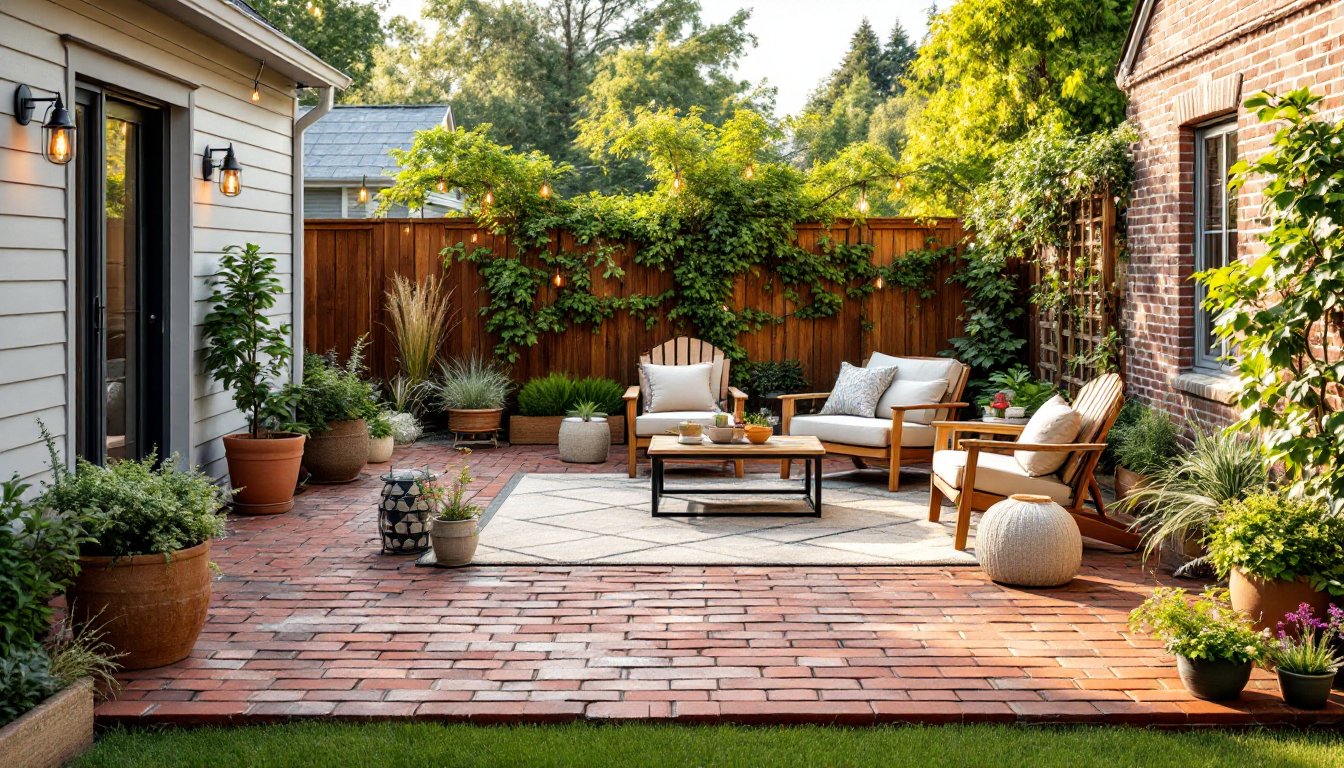
Stone and Brick Edging: Timeless Elegance
Natural stone or clay brick creates a premium, high-end finish that complements virtually any landscape style. You can lay individual pavers end-to-end, stand them vertically for a scalloped effect, or use stacked stone for extra height and visual interest. Material options include limestone, granite, slate, or standard clay brick, each bringing different color and texture.
Installation approach: Prepare a 4–6″ deep trench along your patio edge. Lay 2″ of compacted gravel base, then set your chosen stone or brick in a bed of landscape adhesive, polymeric sand (which locks pavers in place as it hardens), or shallow mortar. If stacking, adhesive works best: it sets in 24–48 hours and creates a clean bond without visible mortar joints. Space individual pavers tightly, typically ¼” to ½”, to prevent gravel from working underneath.
Why it works: Stone and brick are permanent, require virtually no maintenance, and age gracefully. They also provide a finished, upscale appearance. The trade-offs: higher cost ($8–$20+ per linear foot, depending on material), more involved installation (especially with mortar), and potential settling over time if the base isn’t properly compacted. Brick in freeze-thaw climates may crack if it absorbs moisture and freezes: opt for frost-proof brick or stone in cold regions.
For a budget-friendly stone edge, consider reclaimed or salvaged brick and stone from salvage yards, you’ll get authenticity and savings.
Landscape Fabric and Edging Combinations
Landscape fabric alone doesn’t contain gravel, but when paired with edging, it’s essential for long-term patio performance. Quality landscape fabric (typically 4–8 oz woven polypropylene) blocks weeds while allowing water drainage, critical for pea gravel patios that need percolation.
Standard setup: Dig your patio area and define the perimeter with your chosen edging (metal, wood, or stone). Lay landscape fabric across the entire patio bed, overlapping seams by at least 6″, and secure the fabric edges under the border with ground staples. Then spread your pea gravel over the fabric, bringing the surface just shy of the edging’s top. Over time, a few fine gravel particles will work down through the fabric, this is normal.
Why it matters: Fabric prevents gravel from mixing with soil underneath, which reduces settling and makes future maintenance (raking, adding fresh gravel) much easier. Without it, gravel disappears into the soil and you’ll need fresh material every couple of seasons. Quality landscape fabric costs $0.15–$0.40 per square foot and is worth every penny.
Pro tip: Avoid ultra-cheap clear plastic sheeting: it tears, clogs with silt, and traps moisture. Stick to labeled landscape fabric rated for gardens or patios. Some DIYers add a 2–3″ sand layer on top of the fabric before gravel to create a stable base and reduce fabric migration.
DIY Installation Tips for Your Pea Gravel Edges
Before breaking ground, measure your patio perimeter twice and sketch a layout, corners and curves trip up even seasoned DIYers. Rent a string line and level to ensure your edging sits true: a sloped patio sheds water, but a visibly crooked edge looks unfinished.
Essential prep work:
- Clear vegetation and topsoil from the patio area down to firm soil or subgrade (typically 4–6″ deep, depending on foot traffic).
- Compact the base using a hand tamper or mechanical plate compactor: loose soil causes settling and uneven surfaces.
- Mark your perimeter with spray chalk or mason’s line before installing edging.
- Slope the patio grade very slightly (1/8″ per foot) away from structures like decks or fences to shed water.
Material and tool checklist:
- Your chosen edging material (metal, wood, stone, etc.)
- Landscape fabric and ground staples (critical)
- Pea gravel (calculate volume: length × width × depth in feet, divide by 27 to get cubic yards: order 10% extra for settling)
- Hand level, tape measure, square
- Shovel, hand tamper or compactor
- Fasteners and adhesive suited to your edging type (corrosion-resistant screws for wood, adhesive for stone, etc.)
- Safety gear: work gloves, steel-toe boots, eye protection, and a dust mask during compaction
Common mistakes to avoid:
- Installing edging without a fabric barrier underneath: gravel will sink and spread within months.
- Using untreated wood in wet climates: it rots quickly.
- Failing to compact the base: uneven settling makes patios feel unstable and dangerous.
- Underestimating gravel depth: a 3–4″ finished depth prevents gravel from migrating and feels comfortable underfoot.
Budget 1–2 days for a small patio (200 sq. ft.), and honestly assess whether stone edging requires a second pair of hands, lifting and setting heavy pavers is awkward solo. Some projects genuinely need a pro, and that’s okay.
Conclusion
Pea gravel patios shine when they’re backed by thoughtful edging. Whether you choose the clean geometry of metal, the warmth of wood, the permanence of stone, or a combination approach, the key is proper base preparation and landscape fabric to lock everything in place. Start with a realistic assessment of your climate, aesthetic preferences, and timeline, then commit to the prep work, that’s where 80% of long-term success lives. Your finished patio will reward years of use without the frustration of gravel creeping into your grass.