A patio canopy transforms an outdoor space from a sun-exposed slab into a comfortable retreat, whether you’re seeking refuge from harsh UV rays, creating a dining area, or adding architectural interest to your home’s exterior. Homeowners often overlook shade solutions when budgeting outdoor improvements, but a well-chosen canopy delivers both practical function and aesthetic value. Whether you’re drawn to retractable designs that collapse when not needed, permanent structures that define a space, or something in between, this guide walks you through the most practical options available in 2026. You’ll learn what separates durable installations from those destined for the recycling bin, and how to match a canopy to your climate, budget, and design preferences.
Table of Contents
ToggleKey Takeaways
- Fixed patio canopies offer durability and minimal maintenance, lasting 15+ years, while retractable systems provide flexibility but cost 40–60% more and require $200–500 in annual maintenance.
- Powder-coated aluminum and stainless steel frames are the best material choices for contemporary designs and coastal climates, as they prevent rust and eliminate frequent repainting.
- Solution-dyed acrylic fabrics are the most reliable canopy material for any climate, resisting fading and shedding water effectively, with antimicrobial coatings essential in humid regions.
- A 12×12-foot attached patio canopy project costs $450–1,000 in materials for a DIY installation, but solid post footings at least 24 inches deep and stainless steel hardware are critical for longevity.
- Wooden pergolas suit traditional designs and offer customization potential, but require staining or sealing every 2–3 years to prevent rot and weathering.
- Verify building codes and call 811 before digging to locate utilities—skipping permits can affect home insurance and resale value.
Understanding Your Canopy Options
Before ordering materials or hiring help, you need to know the fundamental split in canopy design: fixed structures and retractable systems. Each approach has real trade-offs in cost, durability, maintenance, and the visual footprint they leave on your patio year-round.
Fixed vs. Retractable Designs
Fixed canopies are permanent structures, pergolas, shade sails, or solid-roof awnings anchored to your home or freestanding posts. Once installed, they stay put. The advantage is stability and durability: they’re built to handle wind, snow load, and UV exposure without moving parts to fail. A properly built pergola or gazebo can last 15+ years with minimal maintenance beyond occasional staining or paint touch-ups. The downside is commitment: you’re living with that shade footprint every single day, and removal or repositioning requires significant labor.
Retractable systems, motorized awnings, roll-up shades, or sliding canopy tracks, give you flexibility. Roll them out when the sun peaks, retract them on cloudy days or when you want unobstructed sky views. They’re ideal if you’re indecisive or live in a variable climate. The catch is complexity: motors, gears, and fabric tensioning systems require annual maintenance, and repairs often mean calling a pro rather than grabbing your toolbox. A quality motorized retractable canopy costs 40–60% more upfront than a comparable fixed structure, and you’ll spend $200–500 annually on inspections and adjustments.
Your choice hinges on three questions: Do you want shade every day, or is seasonal control important? Are you comfortable with annual maintenance checks? And are you planning to stay in the home long enough to justify the investment? Fixed systems suit permanent shade zones: retractable systems suit those who value flexibility or live in climates where winter snow loads are a real issue.
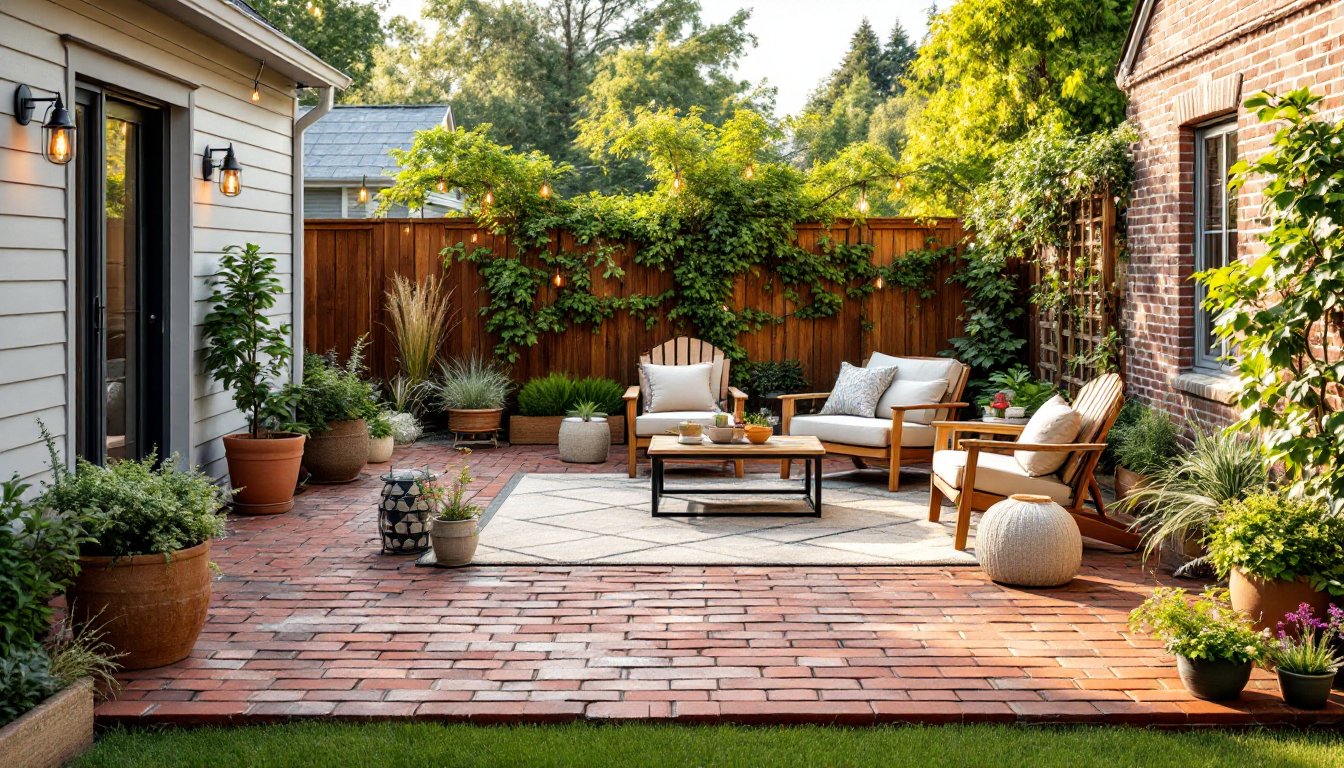
Popular Patio Canopy Styles to Inspire Your Space
Canopy design goes far beyond function, it shapes how your outdoor space feels and integrates with your home’s architecture. The style you choose signals intent to visitors and affects how the patio becomes part of daily life.
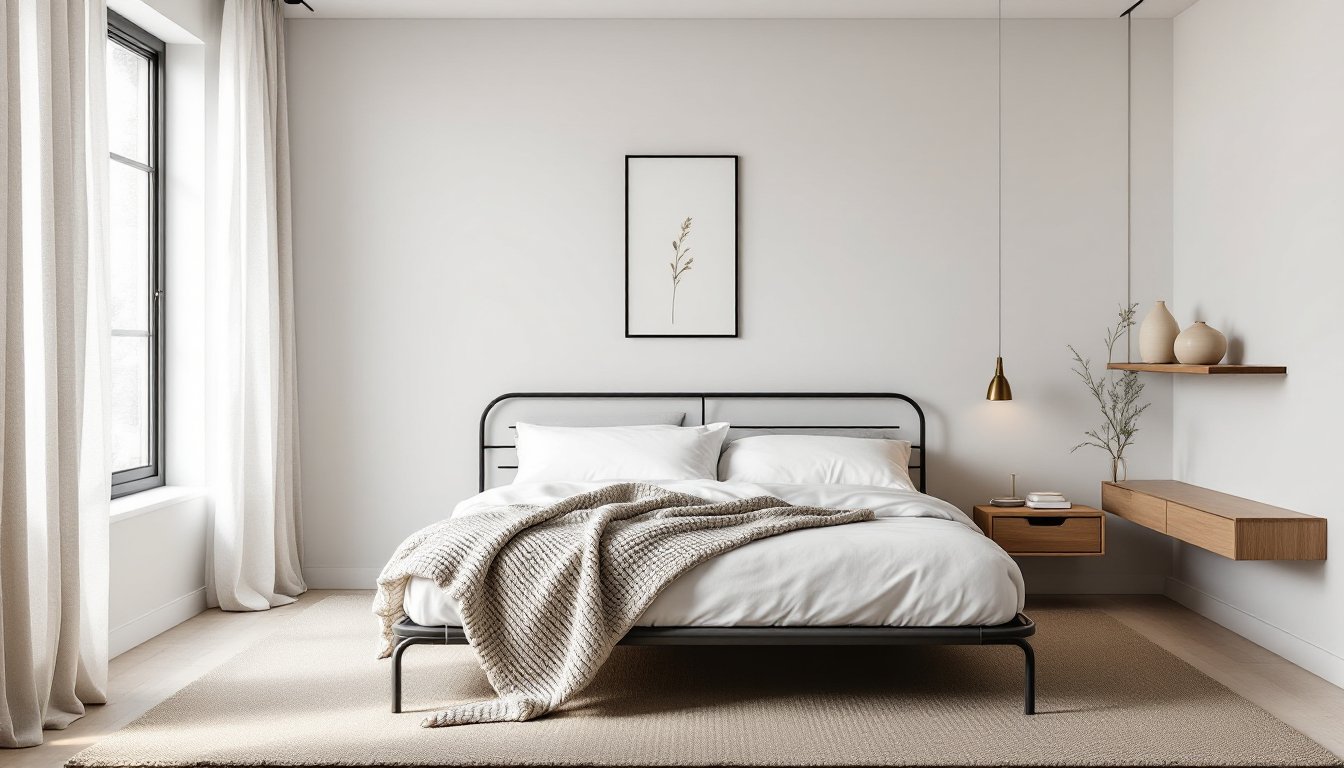
Modern and Contemporary Aesthetics
Contemporary canopies favor clean lines, minimal ornamentation, and materials that age gracefully. Steel pergolas with thin slats, shade sails in neutral tones, and flat-roof attached awnings all fit this category. The appeal is sophistication and restraint: a black steel frame with a natural linen shade sail reads differently than ornate lattice work, and appeals to those with minimalist or industrial design sensibilities.
If you’re designing a contemporary space, material quality matters immensely because every surface is visible. A shade sail with visible rust stains or a steel pergola with peeling paint undercuts the whole aesthetic. Powder-coated aluminum or stainless steel frames are worth the premium: they won’t corrode or require frequent repainting. Fabric-wise, solution-dyed acrylic or high-tenacity polyester in grays, blacks, or soft earth tones keeps the visual language coherent. A DIY pergola kit with pre-cut aluminum components can be assembled in a weekend, though you may need to hire a local contractor for proper post anchoring if concrete work is involved.
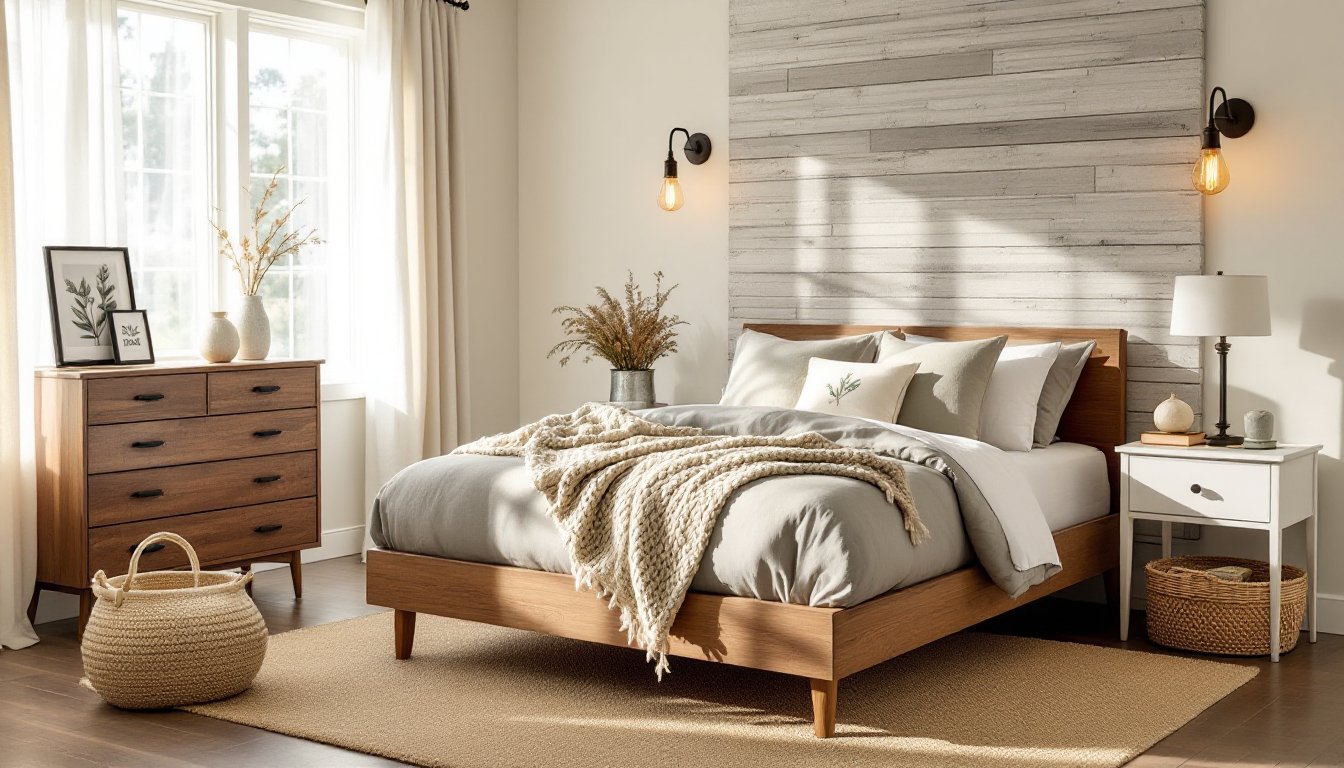
Traditional and Rustic Canopies
Classic patio canopies embrace warmth and texture: wooden pergolas with curved brackets, lattice detailing, or striped fabric awnings in warm colors. These designs complement older homes, cottage aesthetics, or spaces designed to feel lived-in and inviting. Wood pergolas are the gold standard here, and there’s real craft involved. Using pressure-treated lumber (rated for outdoor use) with quality mortise-and-tenon joinery creates a structure that feels substantial and ages with character.
Wooden canopies do require commitment: staining or sealing every 2–3 years prevents gray weathering and rot. A 12×12-foot pergola over a patio might consume 8–10 gallons of exterior wood stain over its lifetime. That said, wood offers design flexibility, you can add climbing plants, hang lights from the frame, or integrate seating built into the support posts. DIY-friendly options exist here too: freestanding DIY pergola kits with retractable canopies let you build the structure yourself while the canopy hardware arrives pre-assembled. Traditional fabric awnings in cream, burgundy, or striped patterns (often acrylic with vinyl backing) pair well with wooden frames and contribute to that classic look many homeowners chase.
Materials That Work for Any Climate
Your climate dictates material performance more than any design preference. A shade sail that thrives in coastal California might corrode or tear within two years in humid Southeast conditions, and vice versa.
Fabric and Canvas Options
Solution-dyed acrylic fabrics are the workhorse for outdoor canopies. They resist fading, shed water efficiently, and cost $15–30 per yard. Sunbrella is the premium brand: store-brand equivalents perform almost identically at half the price. For humid or coastal regions prone to mildew, look for fabric treated with antimicrobial coatings (often labeled “mildew-resistant”), this is not optional in places like Florida or the Pacific Northwest.
Polyester with vinyl backing is heavier and blocks more light (useful in very hot climates) but absorbs moisture more readily and can develop mold if not properly ventilated. Use it in dry climates or where air circulation is strong. Canvas, traditional and beautiful, is not suitable for permanent outdoor installation in wet climates: it rots. Reserve canvas for seasonal coverings or very dry regions.
Frame Materials
Aluminum frames are lightweight, won’t rust, and are nearly maintenance-free. They’re ideal for retractable systems because the weight matters. Powder-coated finishes come in dozens of colors and are durable: scratched coating is minor and won’t lead to structural failure like rust does on steel.
Steel frames are stronger pound-for-pound and look more substantial, but they rust if the powder coat is damaged or in coastal salt-air environments. If you choose steel, budget for annual inspection and touch-up paint. Hot-dip galvanizing provides better rust protection than standard paint.
Wood frames suit traditional designs but demand attention. Pressure-treated lumber (rated for ground contact, often labeled “LP22” or “LP33” for load-bearing) resists rot better than untreated wood but still requires regular sealing. Decay-resistant woods like cedar or redwood cost 3–4× more but age beautifully and need sealing less frequently.
Hardware and Fasteners
Stainless steel bolts, brackets, and fasteners are non-negotiable in any climate. Galvanized hardware rusts in coastal regions. This detail is often where budget-conscious builds fail: a $500 pergola compromised by rust-stained fasteners is a $500 loss. Spend the extra $40 on stainless hardware.
Budget-Friendly DIY Installation Tips
A DIY canopy project can save thousands versus hiring a contractor, but it demands careful planning and honest assessment of your skills. Here’s how to keep costs reasonable without cutting corners on durability.
Prep and Planning
Measure twice, mark the layout with chalk or spray paint, and verify that post holes won’t interfere with buried utilities. Call 811 before digging in most jurisdictions: it’s free and prevents catastrophe. For a patio attached to your home, check local building codes, some jurisdictions require permits for structures over a certain size or roof load. Don’t skip this step: an unpermitted structure can affect home insurance and resale value.
Gather materials on site before starting. Lumber needs to acclimate for 48 hours if it’s been stored in a different climate. Fasteners and hardware should all be present before the first post goes in the ground.
Post Installation
Solid post footings are the foundation of any canopy. For a freestanding structure, dig holes at least 24 inches deep in areas with freeze-thaw cycles (most of the northern US): frost heave can lift posts out of level. Mix concrete per the bag instructions and pour it wet, don’t pack it dry. A wobbly post six months in means ripping everything out and redoing the work.
For posts attached to your home, use galvanized lag bolts into solid framing (rim board or band joist), never into siding. This is non-negotiable for load transfer.
Tools and Help
A miter saw or circular saw handles lumber cuts, but a miter saw produces cleaner 45-degree angles if you’re working with lattice. Rent a power auger if you’re digging multiple post holes: hand-digging eats a Saturday and leaves you sore. A cordless drill-driver saves time on fastening, though a screwdriver and hammer work if budget is tight. A level is essential, dollar-store levels are unreliable: invest in a 2–3 foot aluminum level ($25–40).
For shade cloth installation, recruit a helper. Pulling and tensioning fabric is a two-person job and becomes frustrating alone.
Material Cost Benchmarks
A 12×12-foot attached pergola with pressure-treated posts and rafters runs $300–600 in lumber, plus $100 for fasteners and concrete. A freestanding version (no house attachment) costs 20% more because it needs additional diagonal bracing. Shade cloth adds $150–400 depending on coverage and fabric grade. Motorized retractable systems start around $1,500 and go up significantly from there.