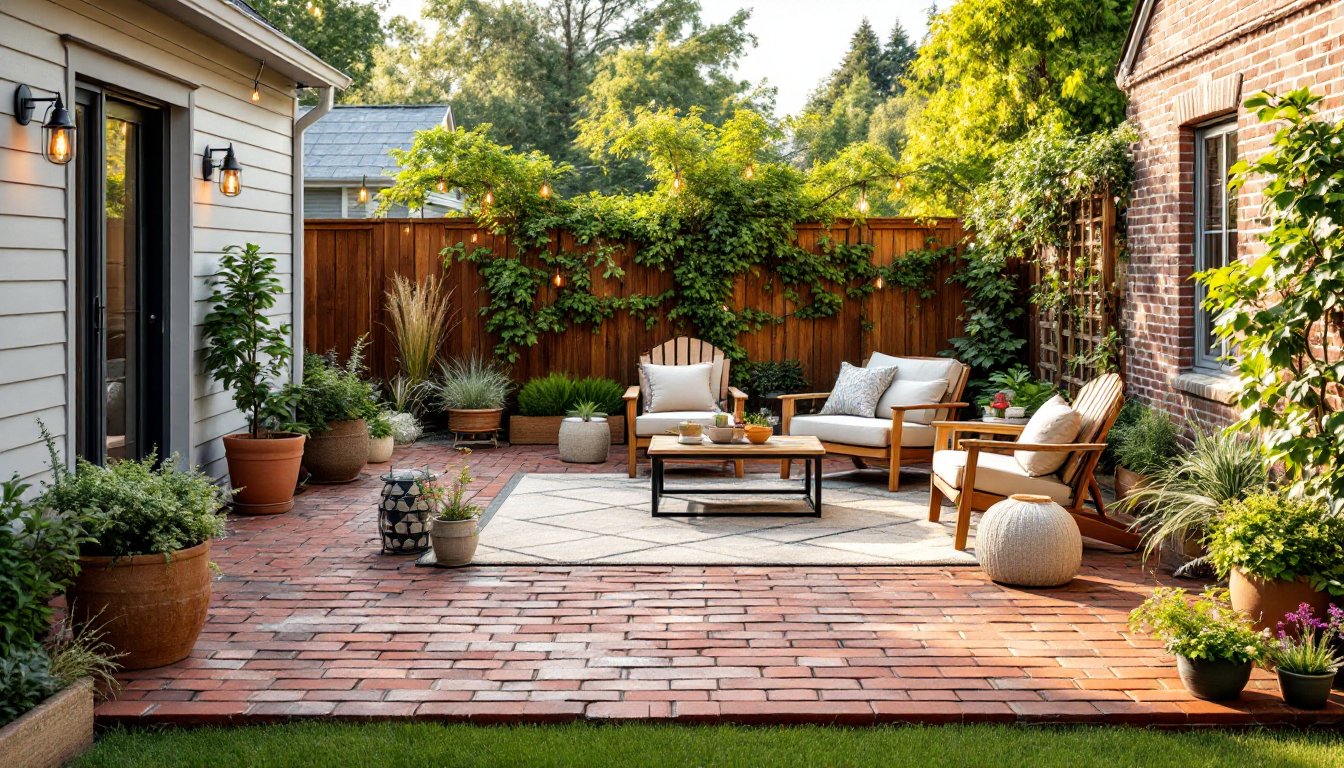
A patio is the heart of outdoor living, the place where family gatherings happen, morning coffee tastes better, and summer evenings stretch into starlit nights. Whether you’re starting from bare ground or refreshing an existing space, thoughtful patio design turns your backyard into a functional extension of your home. This guide walks you through practical patio ideas that balance aesthetics, durability, and usability, so you can build something your household will actually use for years to come.
Table of Contents
ToggleKey Takeaways
- Define your patio’s purpose and style before construction—whether it’s a dining destination, lounge retreat, or multi-use space—and let your climate and foot traffic patterns guide material and layout decisions.
- Select durable flooring materials based on budget and maintenance tolerance: concrete offers affordability at $6–15 per square foot, while natural stone provides premium aesthetics at $15–30+ per square foot.
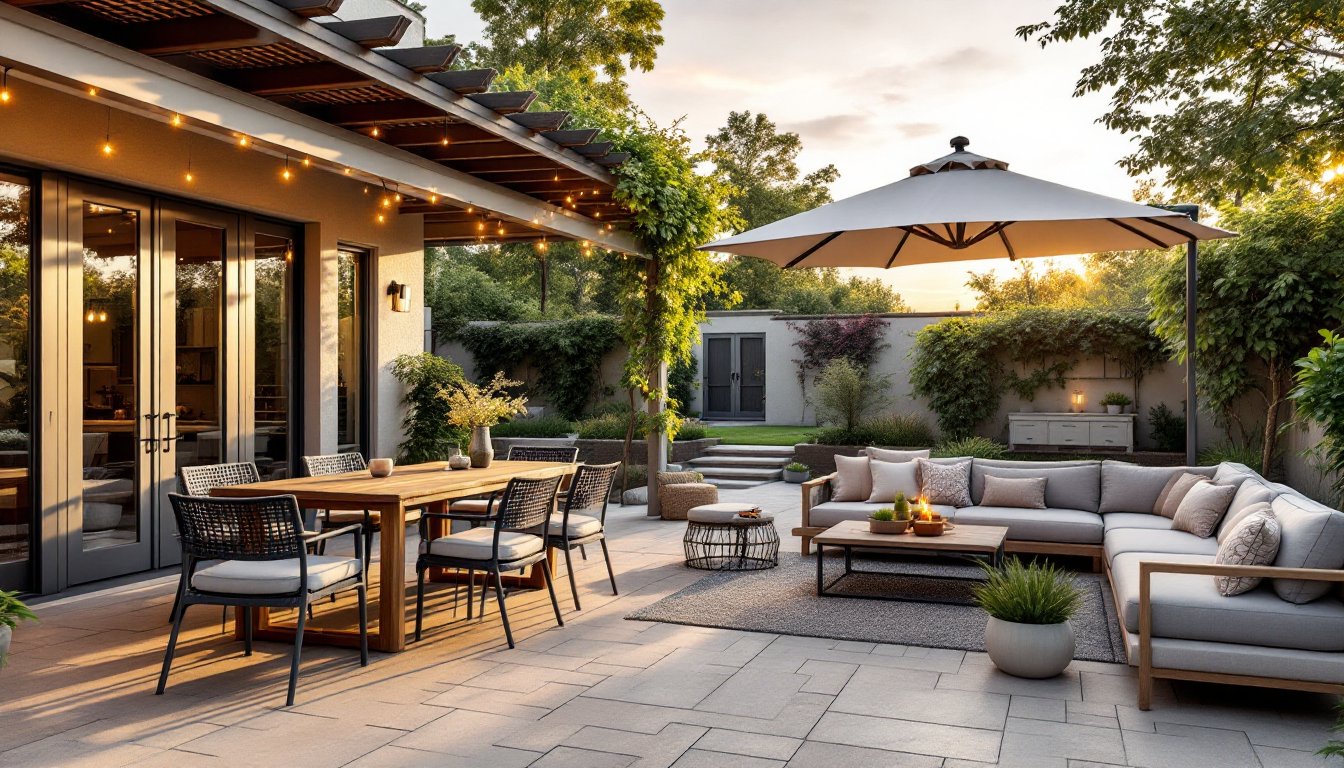
- Add shade solutions like pergolas ($500–$3,000 DIY), umbrellas, or shade cloth to maximize comfort and extend your patio’s usable hours throughout the year.
- Design layered seating with dining tables, lounge furniture, and built-in benches to anchor your patio and encourage lingering; proper spacing (36 inches around dining areas) keeps the space functional and open.
- Enhance ambiance and functionality with outdoor lighting—warm-temperature string lights and LED path lighting—and consider outlets or fire features to extend usability into evening hours.
Define Your Patio Style And Purpose
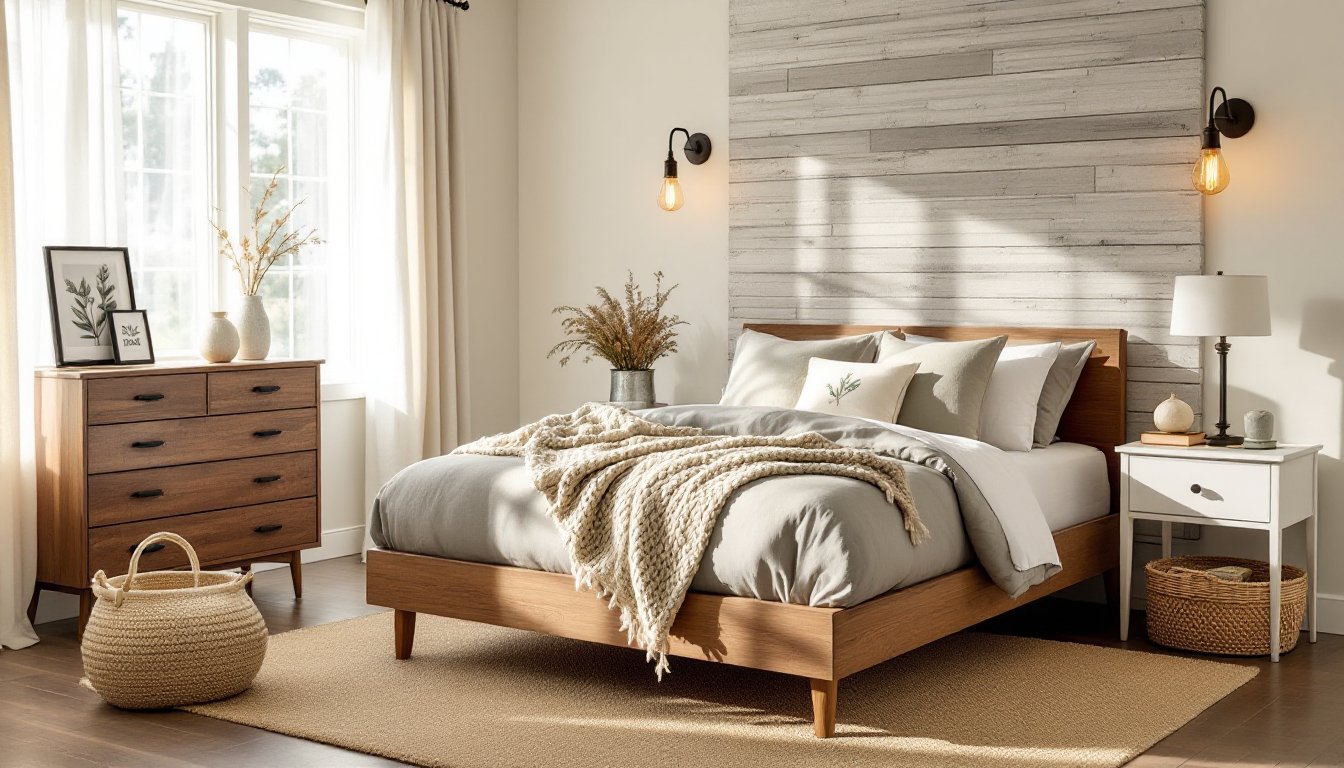
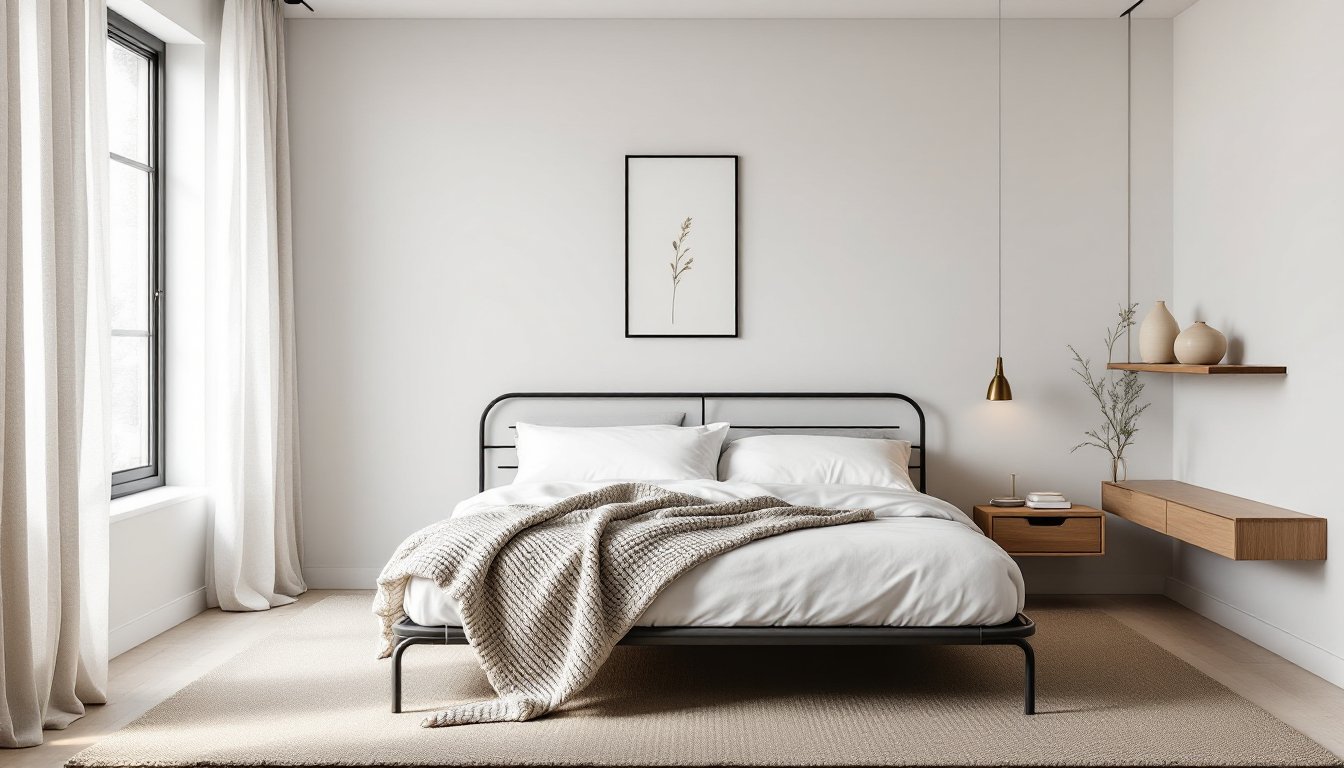
Before you buy a single slab or post, get honest about what you want from your patio. Will it be a dining destination, a lounge retreat, a play zone for kids, or a combination? Style matters too, are you drawn to modern clean lines, Mediterranean warmth, farmhouse charm, or something else? Your climate also dictates materials and structures. A rainy, shaded backyard needs different thinking than a sun-baked southwest exposure.
Spend a weekend photographing patios online or in your neighborhood. Notice what makes you linger: the layout, materials, how it connects to the house. Then measure your available space realistically. A patio that eats your entire yard can feel cramped: one that’s too small becomes a spillway when guests arrive.
Consider foot traffic patterns too. Your patio should connect naturally to house doors, paths, and utilities (hose spigots, trash bins). A poorly sited patio becomes an inconvenience rather than a gathering spot. Sketch a rough layout with approximate dimensions, you don’t need fancy renderings, just honest thinking about flow.
Choose The Right Flooring Materials
Your patio surface sets the tone, functionally and visually. Durability, maintenance, safety (drainage and slip resistance), and installation difficulty all vary wildly by material. This is worth getting right because ripping out and replacing a patio surface is expensive and disruptive.
Pavers, Concrete, And Natural Stone Options
Concrete is the workhouse option: affordable, durable, and quick to install. Standard reinforced concrete (4 inches thick over a 4-inch gravel base) handles freeze-thaw cycles in most climates. Finishes range from broom-swept (slip-resistant) to smooth or stamped. Downside: it cracks over time, not a structural failure, but visually obvious. Sealing every 2–3 years extends life. Cost runs $6–15 per square foot installed, depending on finish complexity.
Permeable pavers are individual units (clay brick, concrete, or composite) that interlock or sit on sand. They’re more forgiving than solid concrete if you need repairs, pull and replace a single paver without disturbing neighbors. Interstices drain water naturally, reducing runoff. Installation is labor-intensive but doable as a DIY project if you’re detail-oriented. Budget $8–20 per square foot. Local design guides and comprehensive design resources show popular paver patterns and configurations.
Natural stone, slate, bluestone, travertine, granite, offers visual richness that concrete can’t match. But, it’s pricier ($15–30+ per square foot), demands precision in setting, and varies in slip resistance when wet. Softer stones like travertine stain easily. Harder stones like granite stay beautiful longer but require professional installation. This is where calling in a contractor often saves money versus learning the hard way.
Composite and recycled materials (reclaimed wood, permeable plastic grids filled with gravel) appeal to sustainability-minded builders. Performance varies, composite decking is low-maintenance but more expensive than pressure-treated lumber. Plastic grids work well in light-traffic areas. Research regional availability and warranty terms before committing.
Create Shade And Shelter Solutions
Sun and weather dictate comfort. A shaded patio invites lingering: an exposed one gets abandoned in July. Your approach depends on budget, permanence, and maintenance tolerance.
Pergolas, Umbrellas, And Shade Structures
Pergolas offer partial shade via open slats or lattice. They’re structurally lighter than a roof (no permit needed in many jurisdictions, but check local code), relatively affordable ($500–$3,000 DIY, $2,000–$8,000 installed), and can support vines or shade cloth for variable coverage. A basic post-and-beam pergola is an intermediate DIY project if you’re comfortable cutting and fastening 4×4 posts to concrete piers. For attached pergolas (bolted to your house), consult the rim board and ensure proper flashing to prevent water intrusion, this isn’t the place to wing it.
Fixed shade structures, metal arbors, sails, or louvered systems, offer more coverage but require solid post footings and sometimes engineering for wind load. Aluminum systems are durable and low-maintenance. Fabric sails (weather-resistant polyester) are striking but demand seasonal tensioning and the occasional cleaning.
Umbrellas (6–11 feet diameter) are the renter’s answer: portable, affordable ($100–$500), and require only a weighted base. For frequent use, invest in a quality cantilever umbrella (side-pole design for easier seating clearance) or a crank-operated offset model. Budget for winter storage or a good cover to extend fabric life.
Shade cloth (30–70% density) draped over a simple frame or existing pergola is cheap ($50–$200) and quick. Secure it tautly to prevent flapping and pooling. In climates with rare sun, it may be overkill: in the Southwest, it’s essential. Resources like comprehensive home guides detail installation methods for different setups.
Design Functional Outdoor Seating Areas
Seating anchors a patio. Without it, your space is just a hardscape. Plan for layered seating: a dining table with chairs, a lounge zone with outdoor sofas or benches, and casual perching spots (steps, ledges, low walls).
Dining typically claims one zone. A 4-foot by 6-foot table accommodates six comfortably: a 3-foot by 5-foot works for four. Leave 36 inches clear on all sides for chairs and foot traffic. Teak, cedar, or composite materials resist weather: cheaper softwoods rot within 5–7 years unless religiously sealed.
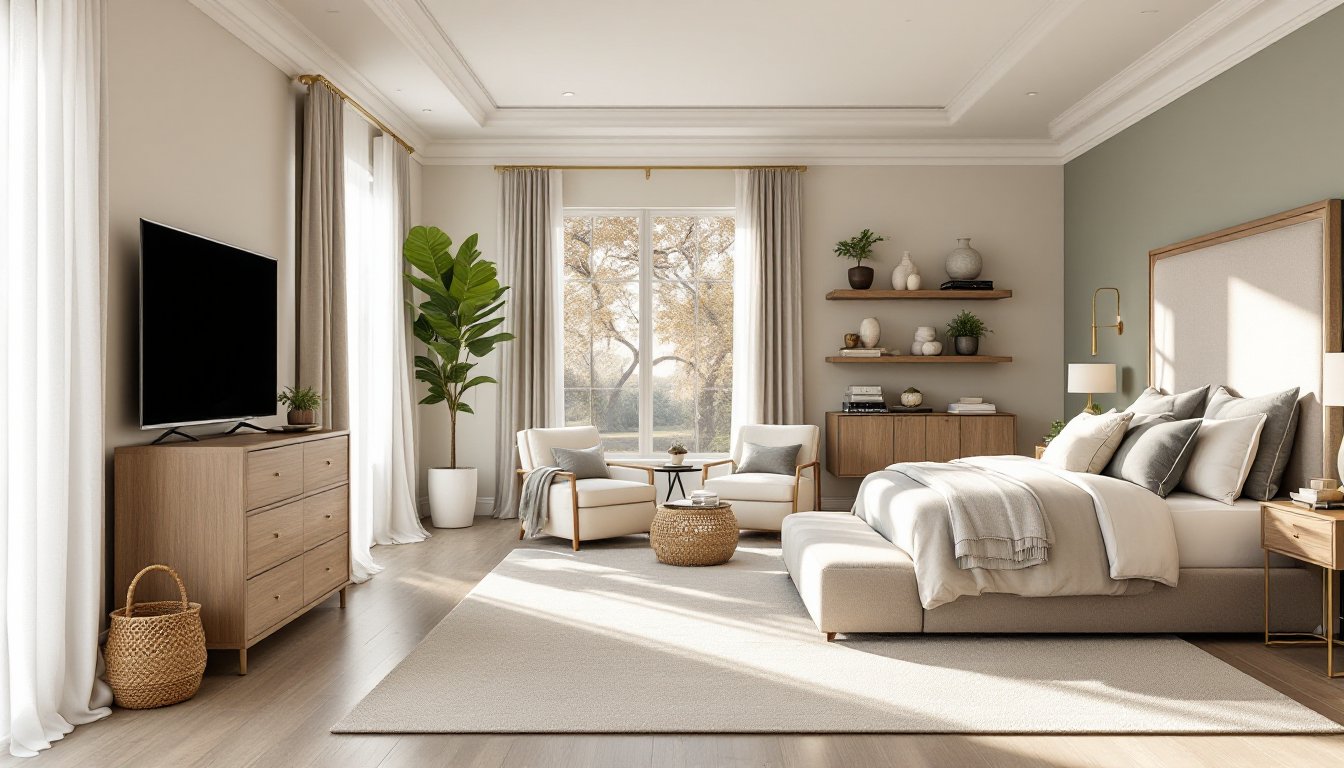
Lounge seating, weather-resistant sofas, sectionals, or modular systems, transforms your patio into an outdoor living room. Cushioned furniture requires storage (a waterproof bin under an eave or in a garage during off-season) to last more than a couple of seasons. Budget $1,000–$3,000 for decent quality pieces that won’t fall apart.
Built-in seating (benches along a pergola or planter edges) maximizes tight spaces and doubles as storage. A simple 2×12 bench screwed to a 4×4 frame takes an afternoon and $200 in materials. Paint or stain with exterior-grade finishes, interior stain won’t stand up to UV and moisture.
Arrangement matters: group furniture to face each other (conversation), orient toward a focal point (fire pit or view), and leave walking paths. Cramming too much in kills the sense of openness. A spare patio feels more inviting than a cluttered one.
Enhance Your Patio With Lighting And Ambiance
Lighting extends your patio’s usable hours and transforms the mood as sun drops. Done right, it’s functional and atmospheric. Done wrong, it’s garish or inadequate.
Overhead ambient lighting, string lights, lanterns, or flush-mount fixtures, sets the scene. Warm color temperatures (2,700K) feel inviting: cool (4,000K+) feels institutional. String lights over a dining table or bistro lights strung loosely overhead are affordable ($50–$200) and charming. Check that they’re rated for outdoor use (wet-location rated or protected under a pergola).
Path and accent lighting, low-voltage LED stakes or downlights, guide foot traffic and highlight plantings or architectural features. Solar options ($20–$50 per light) avoid wiring but vary in brightness and longevity. Hard-wired low-voltage systems (12V transformer-fed) are pricier upfront but reliable and dimmable. Design inspiration and seasonal tips show lighting arrangements that balance practicality with visual appeal.
Fire features, fire pits, tabletop fireplaces, or chimineas, provide warmth and gather guests naturally. A simple steel fire ring on gravel costs $100–$300. Permanent fire pits need clearance from structures (typically 10–15 feet) and may require permits. Check local fire codes and insurance implications before building.
Electrical outlets are often overlooked but invaluable: string lights, a refrigerator, speakers, or a heated blanket all need power. Running a new circuit from your main panel to a weatherproof GFCI outlet is a job for a licensed electrician, don’t improvise here. Budget $300–$600 for a 20-amp circuit and a couple of outlets.
Wiring should be buried at least 12 inches deep (check local codes) in conduit. Above-ground cords are a tripping hazard and degrade quickly in sun.