A patio bar transforms your backyard into an entertainment hub, a place where neighbors gather, families bond, and weekend afternoons stretch into evening. Whether you’ve got a sprawling deck or a modest corner, a well-designed patio bar adds both functionality and style to your outdoor space. The right setup combines seating, storage, and prep surfaces that withstand the elements while reflecting your aesthetic. This guide walks you through seven proven patio bar ideas, from rustic wooden builds to sleek modern designs, so you can pick a style and get started with confidence.
Table of Contents
ToggleKey Takeaways
- Patio bar ideas range from rustic wooden builds ($800–$3,000) to modern concrete designs and tropical tiki setups, allowing you to choose a style that matches your budget and aesthetic.
- A functional patio bar requires a properly leveled foundation, 36–42 inch bar-top height paired with 24–30 inch bar stools, and adequate drainage to prevent water damage and staining.
- Essential features include shelving for glassware and spirits within arm’s reach, warm ambient lighting (2700K–3000K), and weather-resistant cushioned seating for guest comfort and safety.
- Portable bar cart options ($150–$600) offer a flexible, renter-friendly solution for small spaces and require no permits, making them ideal for apartments or decks with limited room.
- Stone and brick built-in bars ($2,500–$6,000+) create high-end focal points that increase home value, though they require professional installation and regular sealing to maintain durability.
- Always check local building codes before construction, as some jurisdictions regulate outdoor bars with sinks, require permits for permanent structures, or impose restrictions on alcohol service.
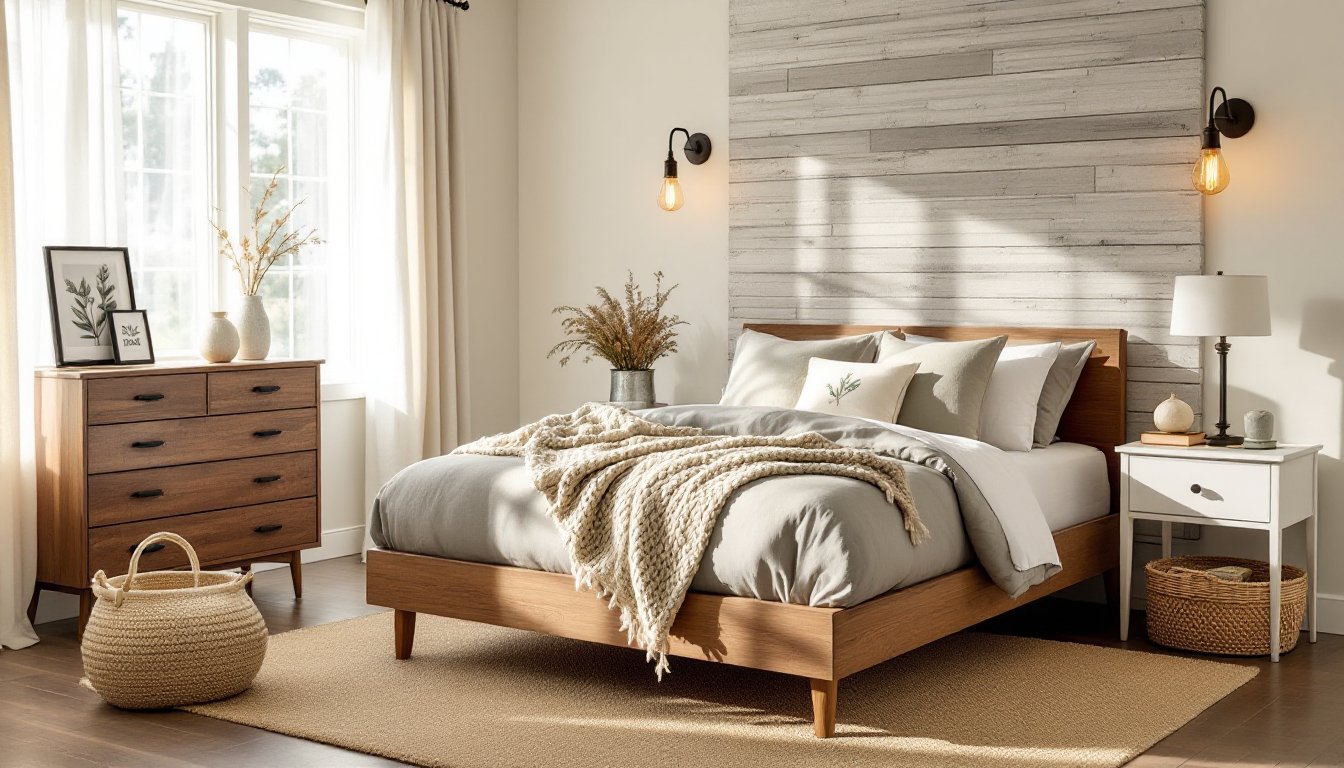
Rustic Wooden Bar with Outdoor Seating
A rustic wooden bar exudes warmth and pairs well with nearly any backyard. Start with pressure-treated lumber, 2x4s and 4×4 posts are standard for framing, to withstand moisture and rot. Build a basic L-shaped or straight-run bar using a concrete foundation or deck footings sunk below the frost line in your area (check local code: most jurisdictions require this for freestanding structures over a certain height).
For the bar top, consider composite decking, cedar, or reclaimed wood sealed with exterior polyurethane or deck stain. Composite holds up better long-term with minimal maintenance, while reclaimed wood offers character at the cost of more upkeep. A typical bar top stands 36 to 42 inches tall, measure against your planned seating (bar stools typically run 24 to 30 inches of seat height).
Add open shelving on the back for glassware and spirits using 1×10 or 1×12 boards mounted to vertical studs with lag bolts and brackets rated for outdoor use. Include a small sink fed by a garden hose with a dedicated drain line if your local code allows (many do: check with your inspector). Pair the bar with a few weather-resistant bar stools, teak, aluminum, or Sunbrella-cushioned options all perform well. Budget for concrete pad prep, lumber, hardware, stain, and stools: costs run wide depending on size and materials but expect $800 to $3,000 for a small-to-medium build.
This style works best on a patio or deck within 20 feet of your back door or kitchen for convenient restocking.
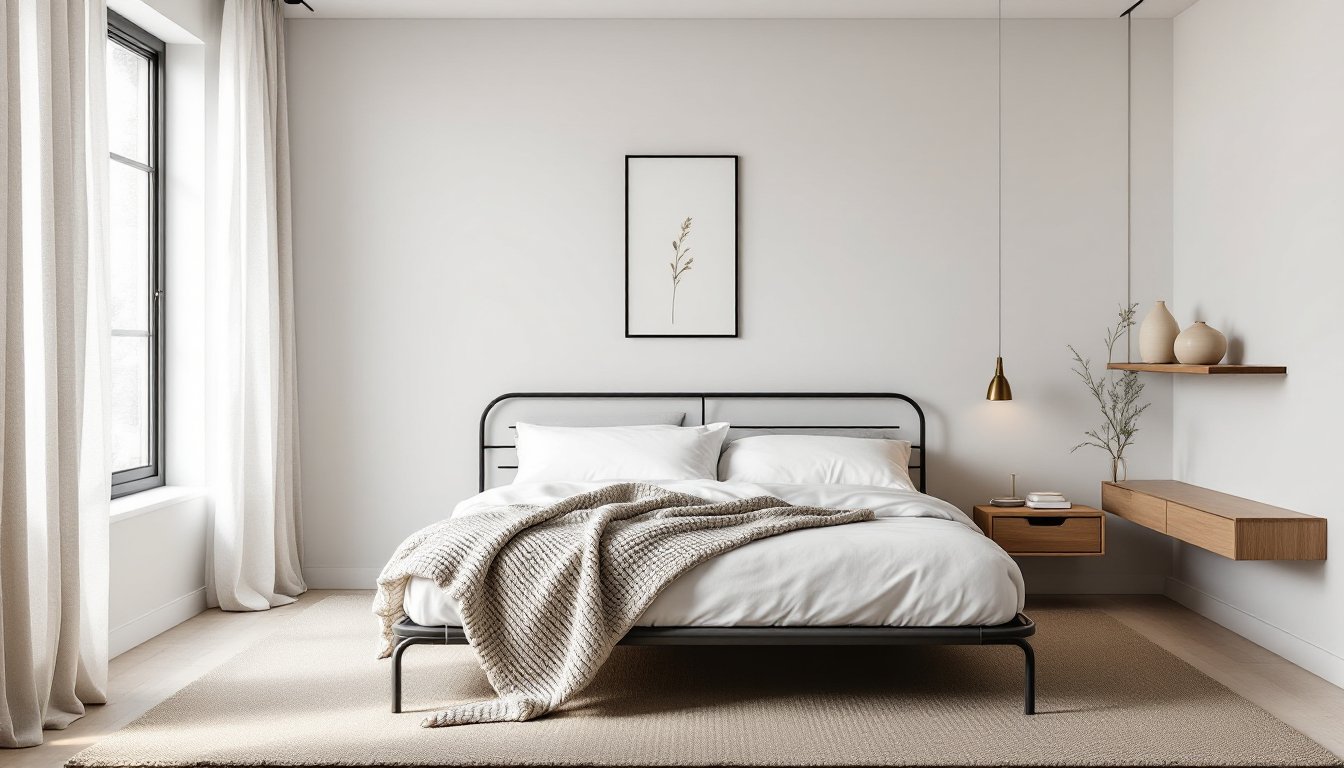
Modern Concrete and Metal Bar Design
Clean lines and industrial materials appeal to homeowners who favor contemporary aesthetics. A concrete bar top delivers durability and minimalism, pour a reinforced slab (typically 4 inches thick with 4×4 rebar grid) over a timber or composite frame, or buy a precast concrete counter if pouring on-site feels overwhelming.
Pair concrete with steel or powder-coated aluminum supports and shelving. A welded steel frame gives you the option to add a stainless-steel sink and cool-down space without visual clutter. Exposed steel requires maintenance, wipe it down regularly and address any rust spots quickly, but the payoff is a striking, durable structure.
Lighting elevates modern designs. Hang pendant lights with metal shades above the bar or embed LED strips under the top edge for ambient glow at dusk. Concrete seals with polyurethane or an epoxy topcoat to repel stains and moisture: reapply every 2 to 3 years.
For seating, go with metal bar stools, brushed stainless, anodized aluminum, or powder-coated steel frames with cushioned seats. A modern bar works on composite decks or directly on a poured concrete pad. Expect to spend $1,500 to $4,000 depending on whether you pour concrete yourself (requires forms, mixing, and finishing skill) or hire a concrete contractor.
Tropical Tiki Bar Aesthetic
Bring vacation vibes home with a tiki bar setup. This style relies on thatch, bamboo, bright colors, and cheerful décor to set the mood. Start with a durable base, a sturdy wooden frame or existing outdoor bar cabinet, then dress it up with synthetic tiki thatch panels (often made of palm-look polyethylene) attached to a frame above and behind the bar. Real thatch is beautiful but harder to maintain in most climates: synthetic holds up better in rain and UV.
Source bamboo poles and trim from home centers: use them to frame shelving, create tiki torches, and edge the bar top. Seal bamboo with exterior-grade polyurethane to prevent splitting. Paint or stain the base structure in warm tropical tones, sunset orange, sea green, or sandy beige, using exterior latex or oil-based paint rated for outdoor furniture.
Stock your shelves with colorful glass ware, tropical spirits, and fun garnish holders shaped like pineapples, flamingos, or surfboards. String market lights or Edison bulbs overhead and add tropical plants in large ceramic pots around the base for lush atmosphere. This approach works well if you’re repurposing an old outdoor bar cabinet or building a modest frame.
Costs stay reasonable, $400 to $1,200, if you’re starting with an existing structure and layering décor. The tiki aesthetic thrives on personality, so don’t skip the fun details.
Compact Cart-Style Bar for Small Spaces
Not every backyard has room for a built-in bar. A cart-style bar is portable, scalable, and renter-friendly. Many outdoor bar carts feature a metal frame (stainless steel or powder-coated aluminum) with two or three shelves and wheels for easy movement. Look for models with lock-down casters to prevent rolling when in use.
Popular options include tiered designs where the top shelf holds glassware, the middle holds bottles and mixers, and the bottom stores ice, linens, or tools. Stainless-steel carts resist rust better than bare steel: look for units with commercial-grade welds. Wood-and-metal combinations (like teak with stainless frames) add warmth and still move easily.
Pairs well with a small bistro table and stools for a compact entertaining zone. You can position the cart near a patio corner, roll it to poolside, or tuck it away during off-season. A quality outdoor bar cart runs $150 to $600 depending on materials and size. For DIYers, you can also build a simple cart from 1×12 boards, pipe fittings, and lockable casters, a weekend project that costs $80 to $200 in materials.
This option shines on apartment patios, small decks, or as a secondary bar in a larger yard. It requires no permits, no construction, and zero commitment to a fixed location.
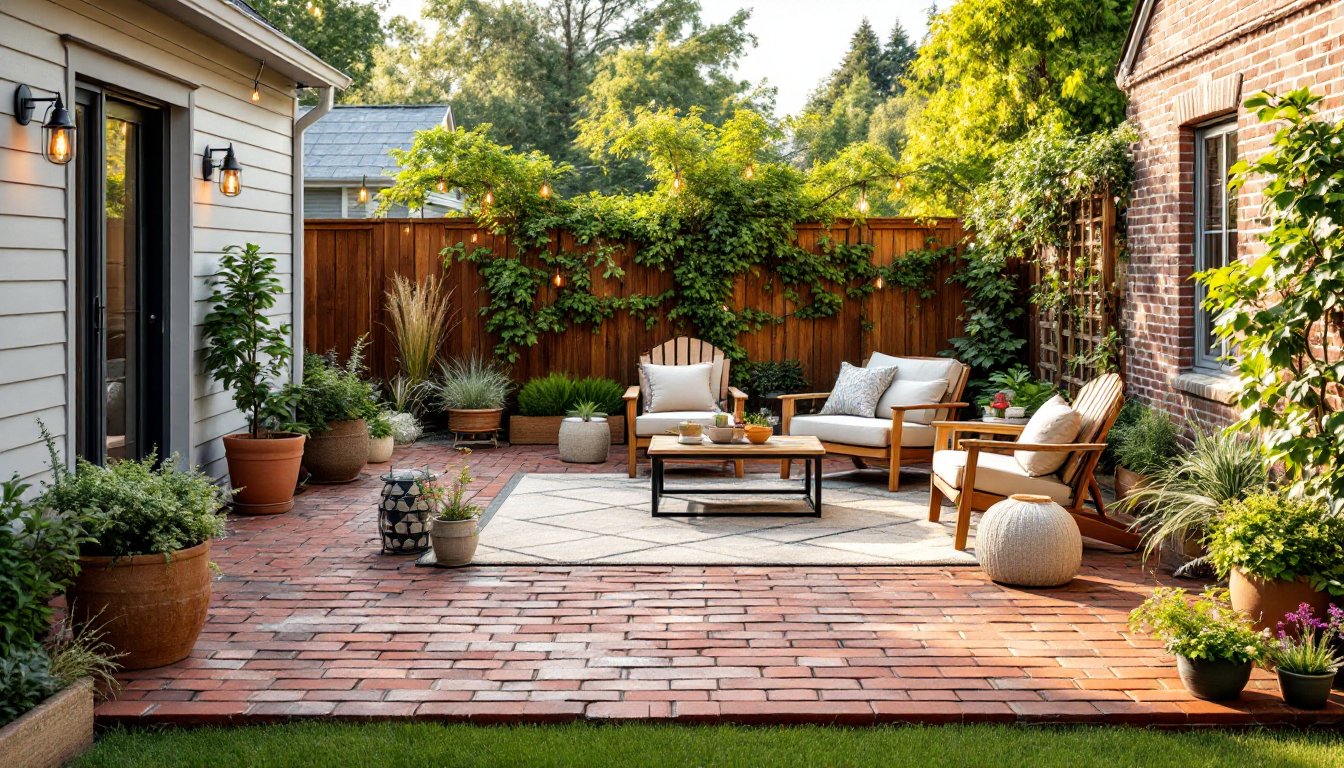
Stone and Brick Built-In Bar
For a timeless, high-end look, a stone or brick bar anchors your outdoor living space like a fireplace. Stack dry-laid or mortared stone/brick into a base structure, then top it with a 3/4-inch bluestone, granite, or limestone slab (seal before use). Local materials often cost less, check quarries or salvage yards for pricing on stone relevant to your region.
Brick offers warmth and texture: stack it in a running-bond or herringbone pattern for visual interest. Mortar type matters: use outdoor-rated mason’s mix, not interior joint compound. Stone is durable and elegant but requires sealing every 1 to 2 years, depending on the type and your climate.
A built-in bar with stone typically involves digging a foundation, pouring a concrete footer, and laying up the structure, this is not a beginner DIY job if you’re stacking more than a few courses. Consider hiring a mason unless you have experience. The stone top usually needs templating and cutting: many countertop fabricators handle this. Budget $2,500 to $6,000+ for materials and labor, depending on size, stone grade, and finishes.
This style suits large, established patios and creates a permanent focal point. Pair it with ambient landscape lighting to showcase the stonework at night. A built-in bar increases home value and weather-proofs better than temporary solutions.
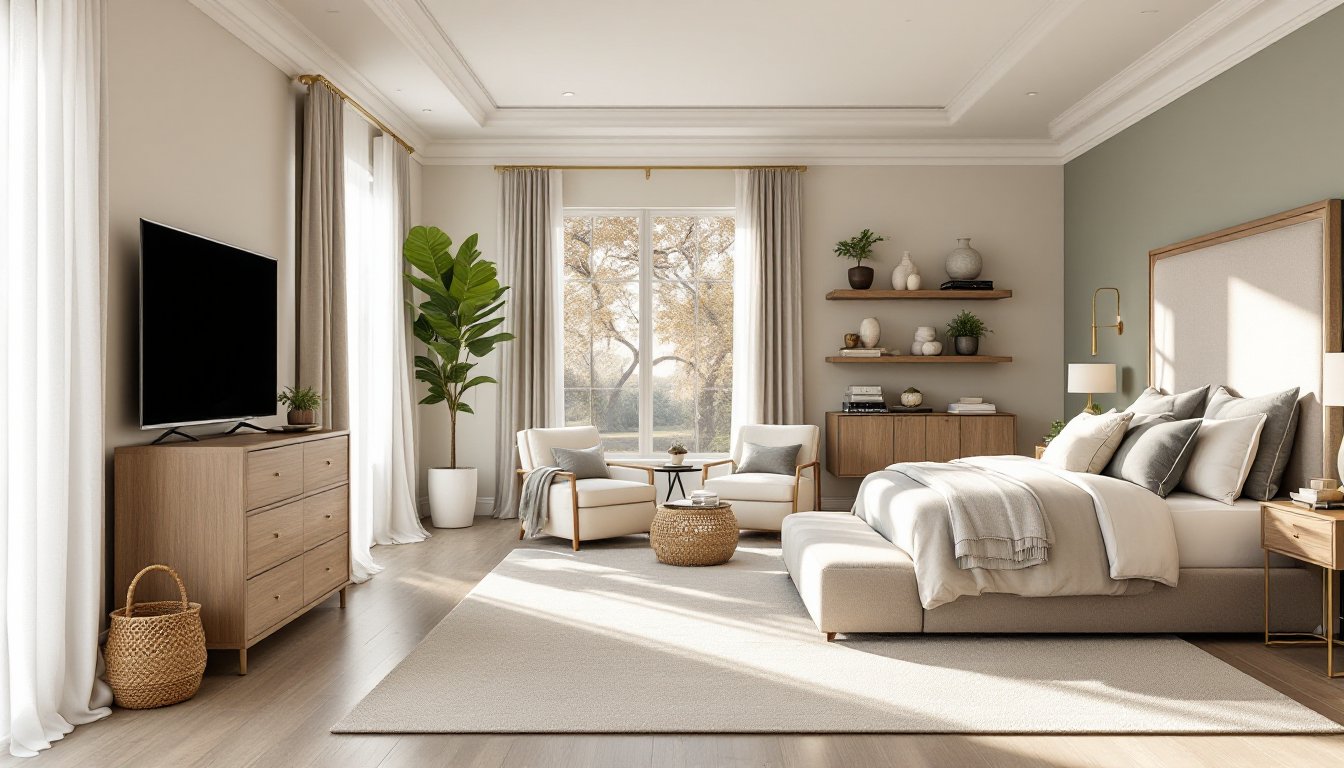
Essential Features Every Patio Bar Needs
Regardless of style, certain elements make a patio bar functional and guest-friendly. A bar top at least 24 inches deep gives you room to work and store bottles without them sliding off. Shelving behind or above the bar should hold glassware, bottles, and barware within arm’s reach: 16 to 24 inches of vertical space per shelf works well.
Drainage and prep surfaces matter. If you’re serving drinks, you’ll spill or splash, a sloped top that directs water away from seating, or a dedicated sink with a drain, prevents standing water and staining. A simple garden-hose spigot and drain hose is easier than running plumbing but less elegant.
Lighting extends usability into evening. Overhead pendants, string lights, or integrated LED strips cast enough light to read labels and pour drinks safely. Avoid harsh downlights: aim for warm 2700K to 3000K color temperature LEDs that feel inviting.
Seating comfort keeps guests happy. Bar-height stools (24 to 30 inches for a 36 to 42-inch bar) should have back support and footrests for stability. Weather-resistant cushions or slings (Sunbrella fabric is industry standard) are less slippery than bare wood or metal when wet.
Storage below the bar keeps tools, linens, ice buckets, and extras out of sight. A cabinet with shelves or weatherproof bins protects from UV and moisture. Finally, check local codes, some jurisdictions regulate outdoor bars with sinks, require permits for permanent structures, or limit alcohol service. A phone call to your building department costs nothing and avoids costly mistakes later. Hunker offers practical guides on patio design and DIY improvements that may address code concerns in your area.
Conclusion
A patio bar needn’t be complicated or expensive to be rewarding. Whether you build a rustic wooden frame, repurpose a cart, or invest in stone and steel, the goal is creating a gathering spot that reflects your style and fits your budget. Start with a solid, level foundation, prioritize drainage and weather resistance, and add comfort features like lighting and seating. Your backyard entertaining, and your neighbors’ envy, will thank you.